Home
Privacy
Anti-Spam
Copyright
DMCA
Med Disclaimer
SM Disclaimer
Terms
Motivation
Healthy life
Success
Self help
Millionaire Mindset
Dating
Workout
Best Speeches
Menu
Pages
Home
Privacy
Anti-Spam
Copyright
DMCA
Med Disclaimer
SM Disclaimer
Terms
Categories
Motivation
Healthy life
Success
Self help
Millionaire Mindset
Dating
Workout
Best Speeches
Latest Posts (25/65)
Success
Why Not You? – Motivational video
admin
0 Comments
Continue Reading »
Motivation
WHATEVER IT TAKES – Motivational Speech
admin
0 Comments
Continue Reading »
Healthy life
opening up about my ED & how I live a healthy life
admin
0 Comments
Continue Reading »
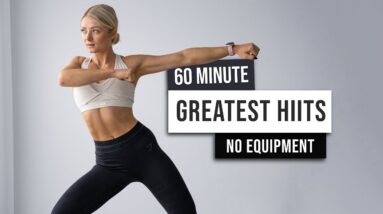
Workout
60 MIN BEST OF Workout – Full Body HIIT Cardio + Abs ! No Equipment, No Repeat
admin
0 Comments
Continue Reading »
Dating
O&A: Patrice O’Neal’s Relationship Advice
admin
0 Comments
Continue Reading »
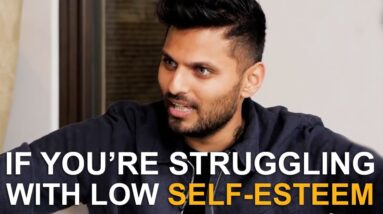
Self help
If You’re Struggling with LOW SELF-ESTEEM – WATCH THIS | Jay Shetty
admin
0 Comments
Continue Reading »
Workout
SHOCK THEM WITH YOUR SUCCESS – Best Motivational Speech 2022
admin
0 Comments
Continue Reading »
Workout
40 MIN WORKOUT OF THE DAY | CROSSFIT ®, HIIT FOR ALL LEVELS | INTENSE HOME WORKOUT
admin
0 Comments
Continue Reading »
Millionaire Mindset
7 WAYS TO BECOME MYSTERIOUS | #shorts Billionaire Attitude Status #motivational #quotes
admin
0 Comments
Continue Reading »
Healthy life
5 Daily Habits To Building a Healthier Lifestyle For Men
admin
0 Comments
Continue Reading »
Dating
Priceless Relationship Advice – Teal Swan
admin
0 Comments
Continue Reading »
Best Speeches
BELIEVE – Motivational Video ᴴᴰ
admin
0 Comments
Continue Reading »
Workout
CHANGE YOUR LIFE – Best Motivational Speech 2022
admin
0 Comments
Continue Reading »
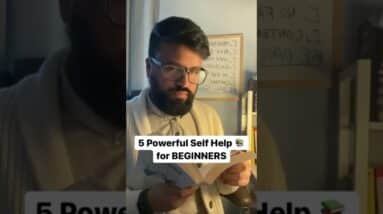
Self help
Self Help for Beginners #selfhelpbooks #motivation #reading
admin
0 Comments
Continue Reading »
Posts pagination
Previous
1
…
24
25
26
…
65
Next