
Discover the Ultimate Selection of 11 Wholesome Foods to Fuel Your Road Trips
Traveling by road can be exciting, fun, and easy. Whether you are in a car, a bus, or a van, you can get the full amazing experience that comes with traveling by road. When planning for a road trip, there are many important things to put in place. For example, if you own a car, you need to make sure your car is in proper condition. You also need to pack essential luggage, documents, and maps. However, planning what you will eat on the road is very crucial. If you’re on a diet or want to eat healthily, you need to ensure that you plan your road trip food and snacks.
Consuming the right meals while traveling by road is important.
Listed below are various healthy foods for road trips:
11 Healthy Foods For Road Trips

These are some of the most nutrient-dense foods and snacks that you can take on a road trip.
1. Fresh fruit and nut butter
Fresh fruits and nuts are naturally nutritious and portable. They aid in bowel movement and prevent constipation. Apples, strawberries, bananas, and almonds, are examples.
Fresh fruits and nut butter are high in protein and can be used to replace unhealthy snacks when traveling.
2. Unsweetened yogurt
Flavored yogurt has a lot of sugar, which is bad for the human body. Unsweetened yogurt, on the other hand, is good for you since it contains protein. It must, however, be kept cool to avoid spoilage.
3. Roasted chickpeas
Chickpeas are high in protein, fiber, magnesium, and zinc, making them extremely nutritious. Chickpeas might be difficult to package for a road trip, but they can be ordered online to reduce the pressure.
4. Avocados
Avocados are rich in fiber, fat, potassium, vitamin C, E, and folate, all of which are beneficial to health. While traveling, they can be salted and eaten with a spoon or mashed and served with bread or crackers.
5. Cheese and crackers
Cheese and crackers are a classic ready-to-eat snack that can help you fill up on the go. It’s a convenient snack for any traveler. It tastes well with fresh fruits and juice.
6. Dark chocolate and almonds
When you’re on the road and you’re seeking something sweet, stay away from baked foods and sugary beverages. Dark chocolate and almonds are a better choices. Both are potent polyphenol antioxidants that help to protect the heart.
7. Popcorn
Popcorn is a good source of fiber, which might help you stay energized while traveling. However, instead of microwave popcorn, go for fresh popcorn cooked with natural ingredients like corn, salt, and oil.
8. Hard-boiled eggs
This pair of eggs are high in protein, which your body requires for road journeys. Although hard eggs are difficult to prepare, they are simple to store and eat when traveling.
9. Carrots and Grapes
These fruits are high in nutritional value for a healthy body and make a great road trip snack. This is because chewing them minimizes boredom and the risk of eating unhealthy snacks while traveling.
10. Walnuts
Another amazing nut for road trips is walnuts. It contains the most plant-based omega 3 fatty acids required by the body. When you’re on the road, walnuts can help you feel satisfied and less hungry.
11. Coconut chips
This is yet another excellent option for road trips. When properly baked, coconut chips are sweet and crispy. Coconut chips are available in a range of tastes, so you can choose your favorite.
Bottom Line
While on the road, eating healthy meals is a great way to maintain a smooth and stress-free trip. Packing these healthy foods for road trips will ensure you consume nutritiously while on the road.
The post 11 Healthy Foods for Road Trips first appeared on You Must Get Healthy.
The post 11 Healthy Foods for Road Trips appeared first on You Must Get Healthy.



12 Effective Ways for Older Adults Struggling with Obesity to Kickstart Their Fitness Journey
Beginning an exercise routine when you are obese can be challenging, but that shouldn’t deter you from getting started!
No matter what your age, it’s important to approach your goals with patience, consistency, and a focus on your overall well-being.
Here are 12 steps to help you start exercising if you’re an older adult dealing with obesity.
1. Talk to Your Doctor  Photo Credit: Depositphotos
Before beginning any exercise program, consult your doctor or a healthcare professional, especially if you have any underlying health conditions or concerns. They can provide guidance tailored to your specific needs and limitations.
2. Start Slow 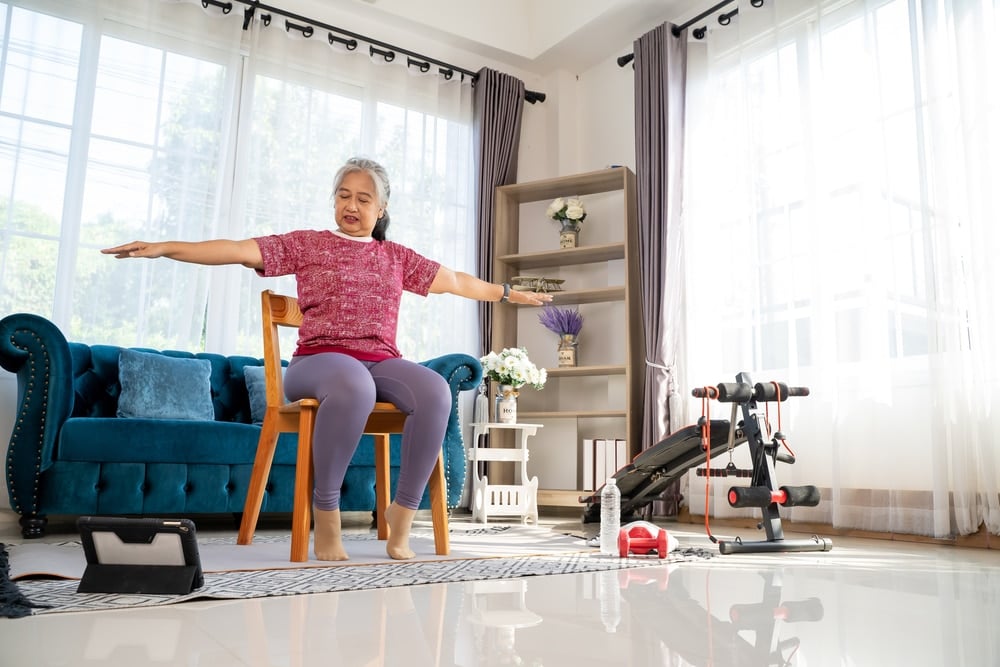 Photo Credit: Shutterstock
This is the MOST important! Don’t overdo it on day one. You will likely become discouraged, sore, and possibly even injured.
Begin with low-impact exercises that are gentle on your joints, such as walking, swimming, or cycling. Start with short durations, even as little as 10 minutes a day, and gradually increase the time as your endurance improves.
3. Set Realistic Goals 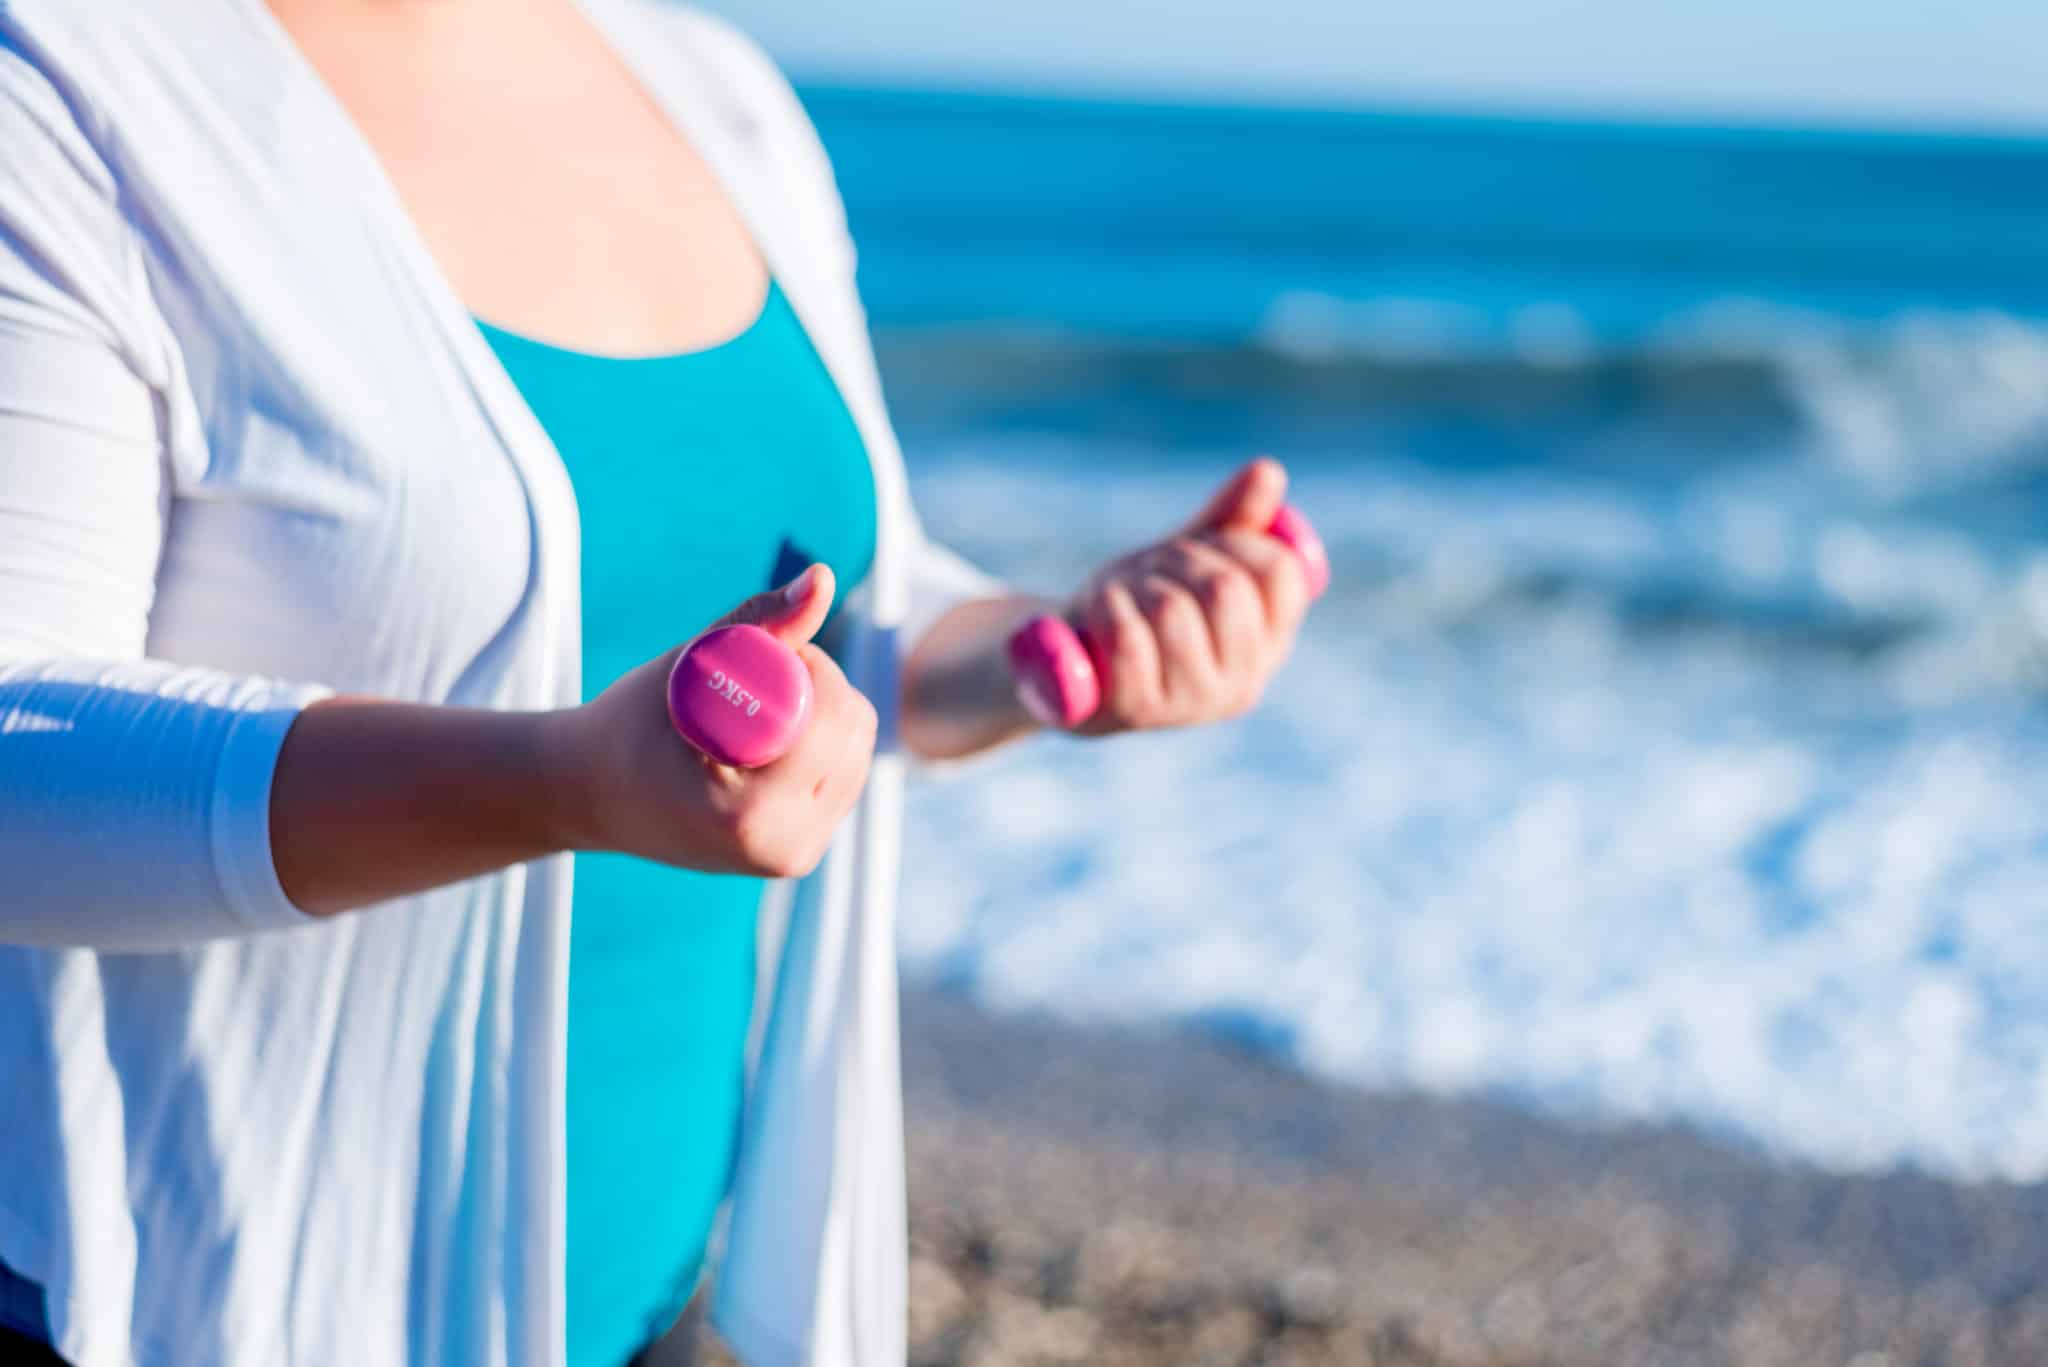 Photo Credit: Shutterstock
Set achievable, realistic, and specific goals. Set goals about consistent movement, not just weight loss!
Instead of aiming for significant weight loss at the start, focus on creating healthy exercise habits. Goals like walking for 10-15 minutes a day or reducing sedentary time can be a good start. Keep track of your daily activity and progress.
4. Find Activities You Enjoy 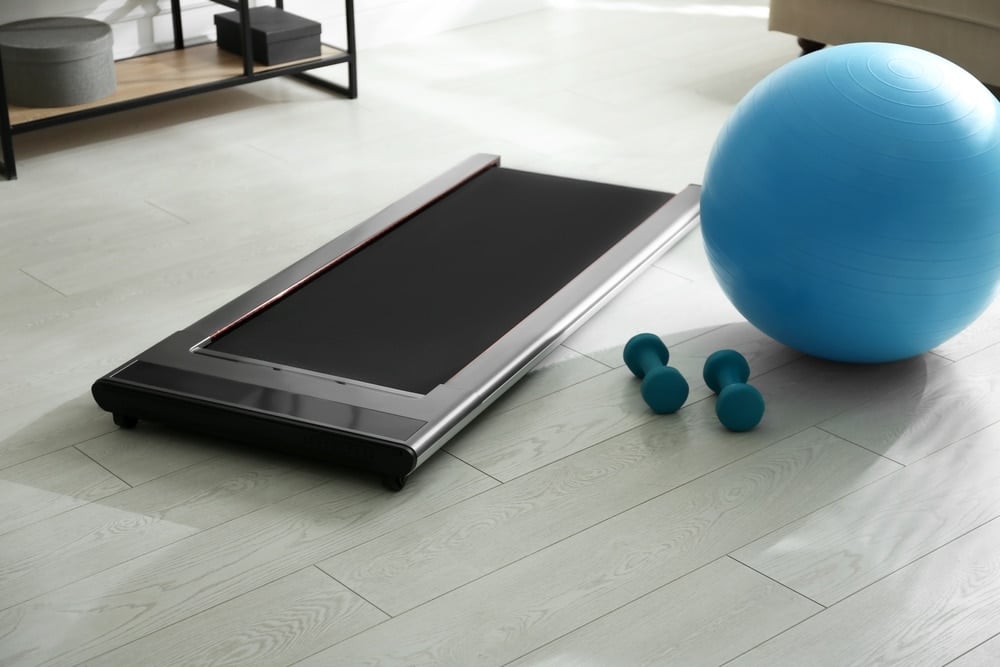 Photo Credit: Shutterstock
Look for activities you enjoy doing. Whether dancing, walking, biking, or playing a sport, finding something you like increases the likelihood of sticking with it in the long run!
If you hate the exercise you choose, you won’t stick with it. There is no one right form of exercise; you need to think about what YOU like.
5. Consider Support 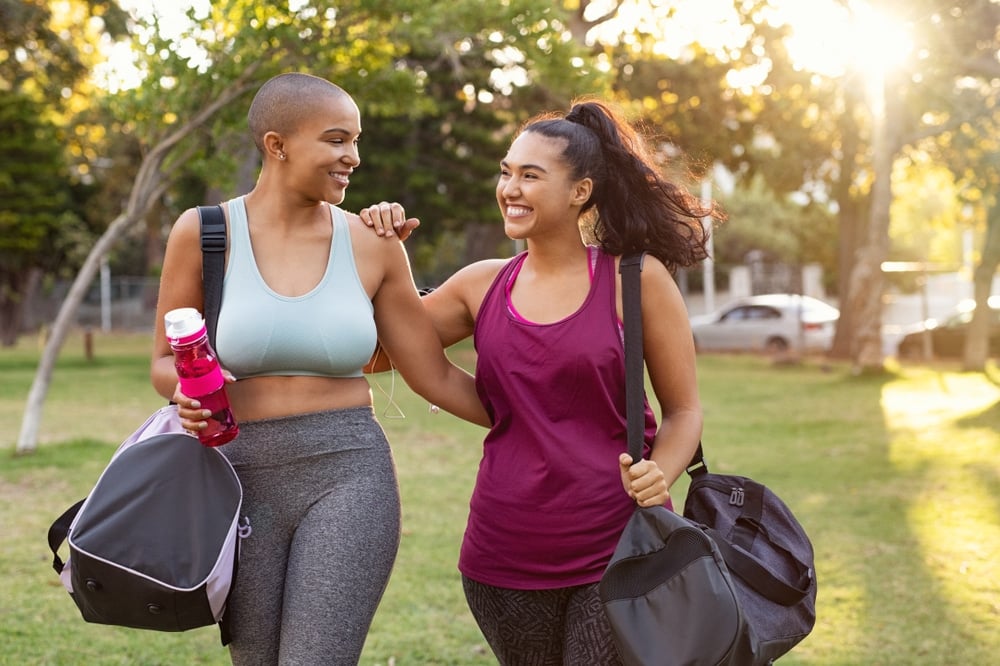 Photo Credit: Shutterstock
Exercise with a friend or family member, or consider joining a support group. Having someone to exercise with can provide motivation and make the experience more enjoyable.
You can also find an accountability partner — someone who will check in with you daily to give you encouragement and support.
6. Modify Your Diet  Photo Credit: Shutterstock
While exercise is important, weight loss is also significantly influenced by diet. (You can’t out-train a bad diet!)
No matter how you slice it, it’s calories in vs. calories out. Of course, the type of calories matters, so start eliminating processed foods and try to eat real foods like fruits and veggies.
Don’t change everything at once, but be mindful and focused. You can also consult a nutritionist or dietitian to create a balanced meal plan that supports your exercise routine and overall health goals.
7. Focus on Strength Training 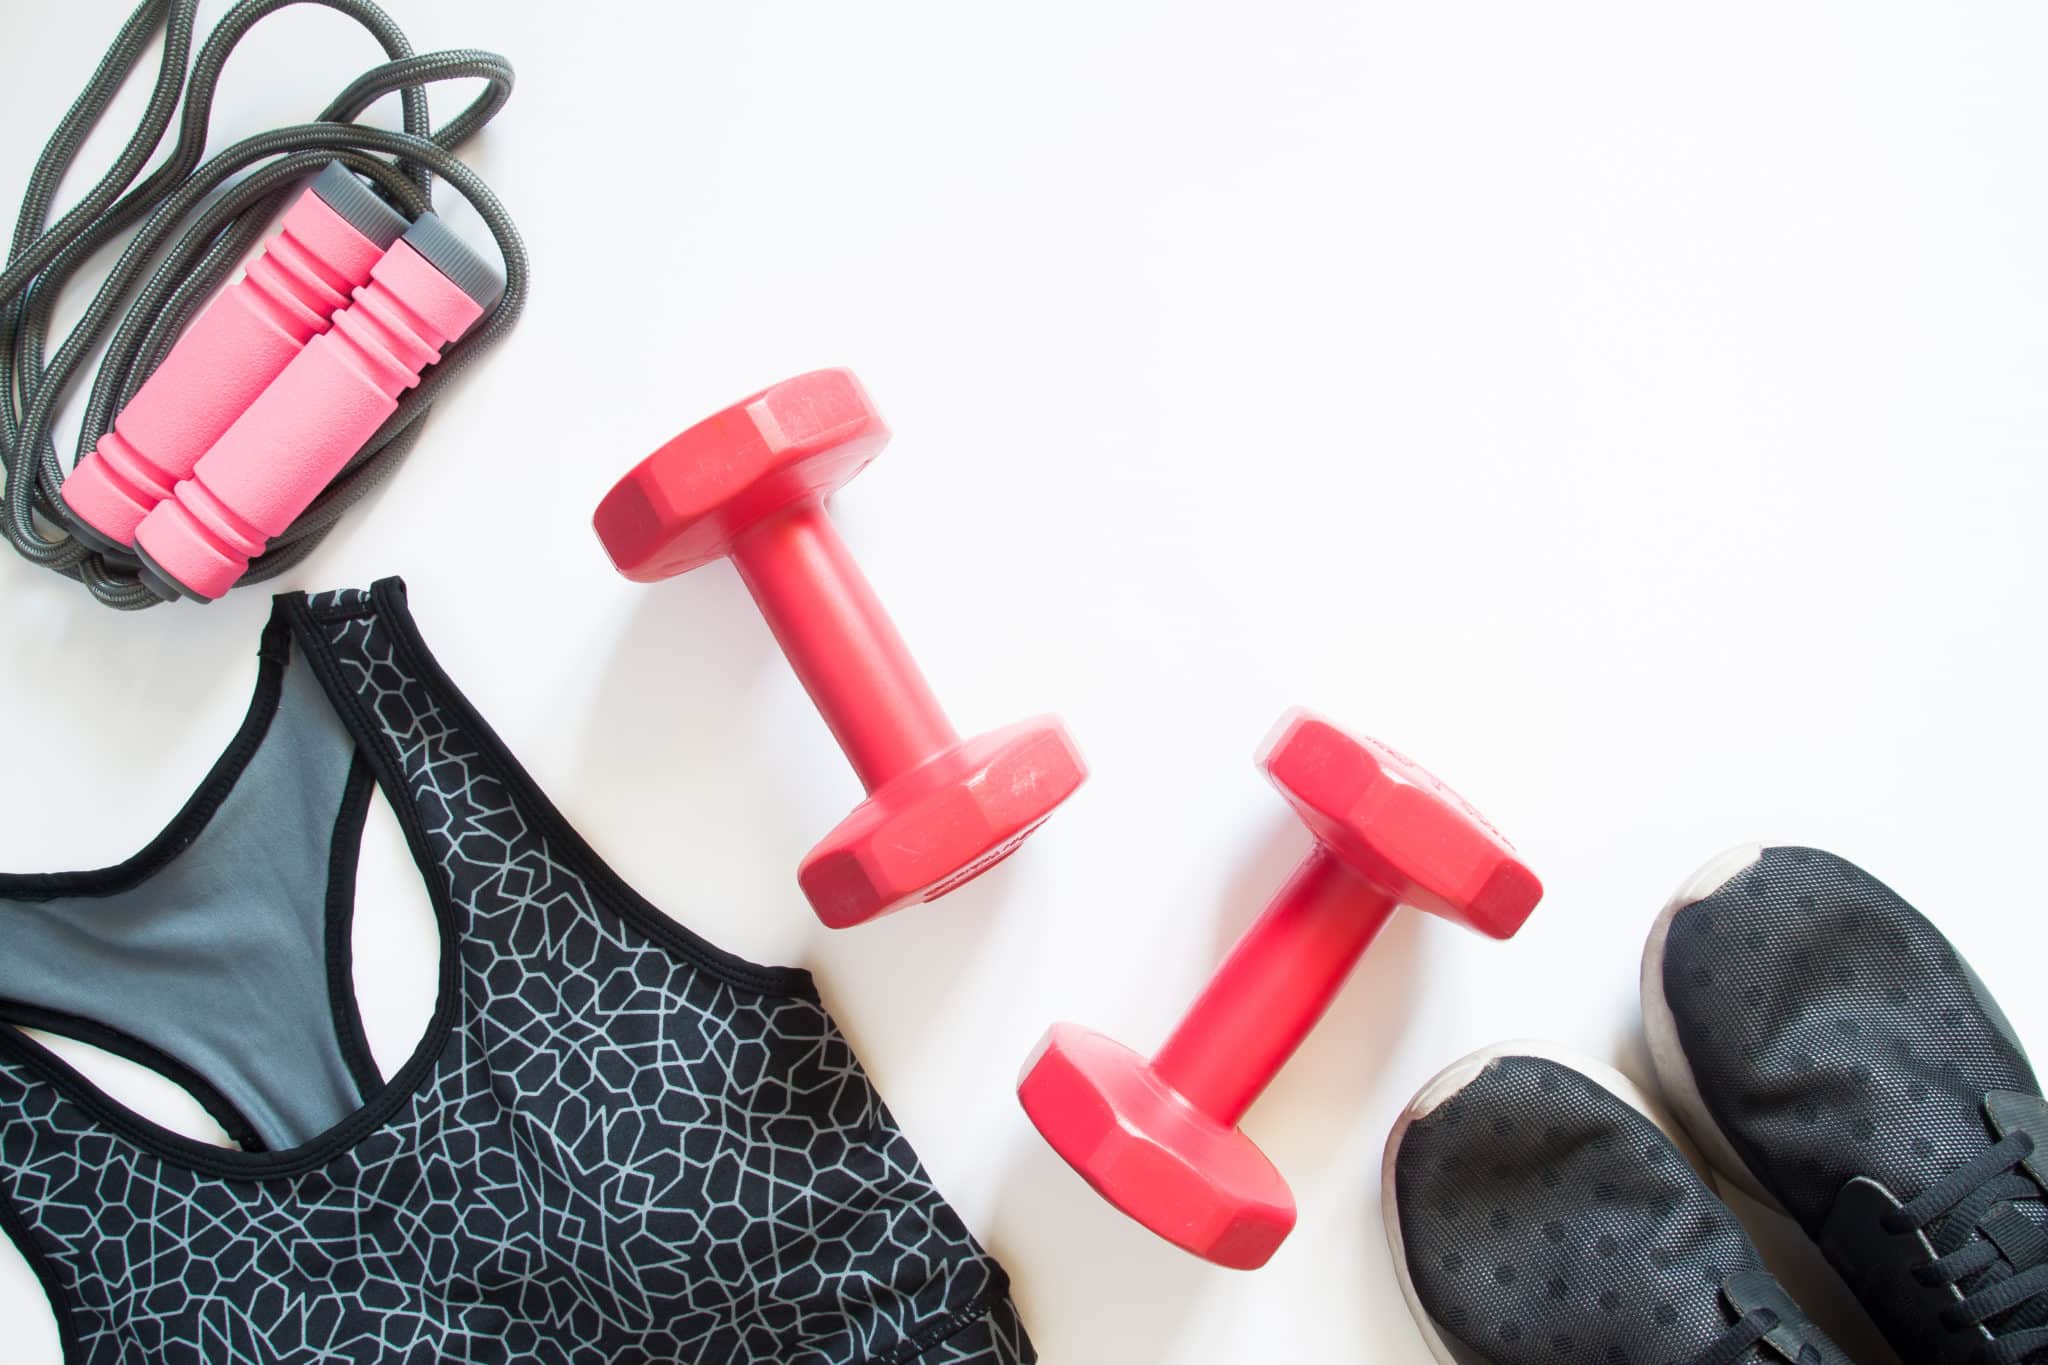 Photo Credit: Shutterstock
Incorporate strength training exercises into your routine. Building muscle mass can boost your metabolism and help with weight loss. Start with bodyweight exercises and gradually introduce light weights.
8. Be Mindful of Your Body  Photo Credit: Shutterstock
Listen to your body. If you experience pain (not to be confused with the usual discomfort of exercise), it’s a sign to stop and rest. Pushing yourself too hard, especially in the beginning, can lead to injuries.
9. Track Your Progress 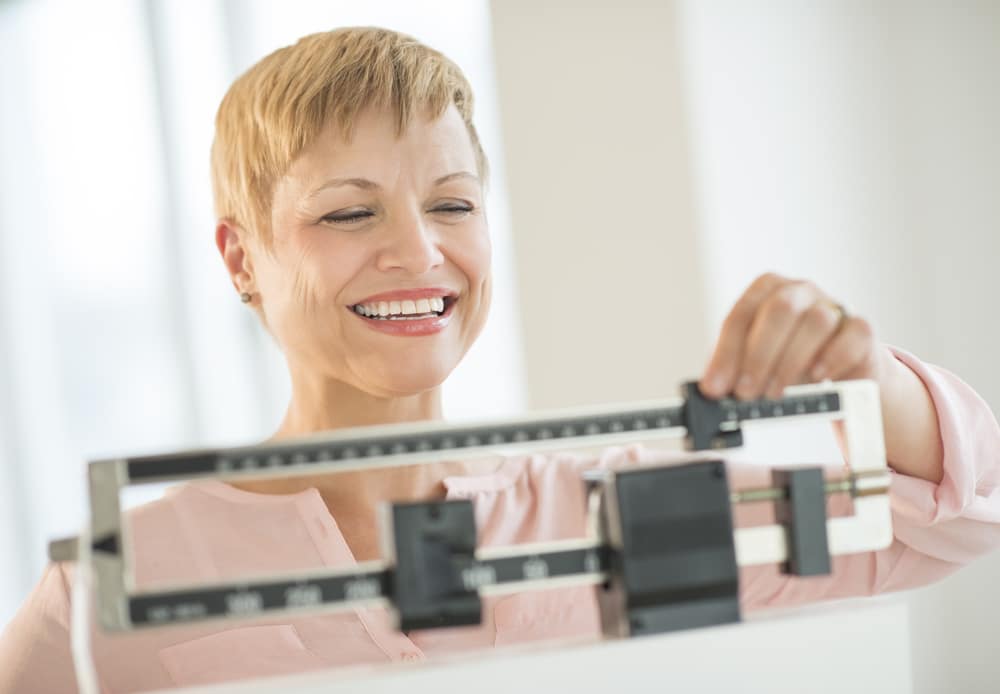 Photo Credit: Shutterstock
Keep a record of your workouts. Tracking your progress, whether it’s the number of steps, minutes of activity, or your strength training routine, can be motivating and help you stay on course!
10. Be Patient and Persistent  Photo Credit: Depositphotos
Understand that progress may be slow, and setbacks might happen. Stay persistent and be patient with yourself.
Celebrate your achievements, no matter how small they may seem. You didn’t gain the weight overnight, and you won’t lose it overnight, either. You’re in it for the long haul, and you’ll get there!
11. Stay Hydrated and Well-Rested  Photo Credit: Shutterstock
Drink plenty of water, especially when exercising. Also, ensure you get enough sleep, as rest is crucial for your body’s recovery and overall well-being.
12. Consider Professional Guidance 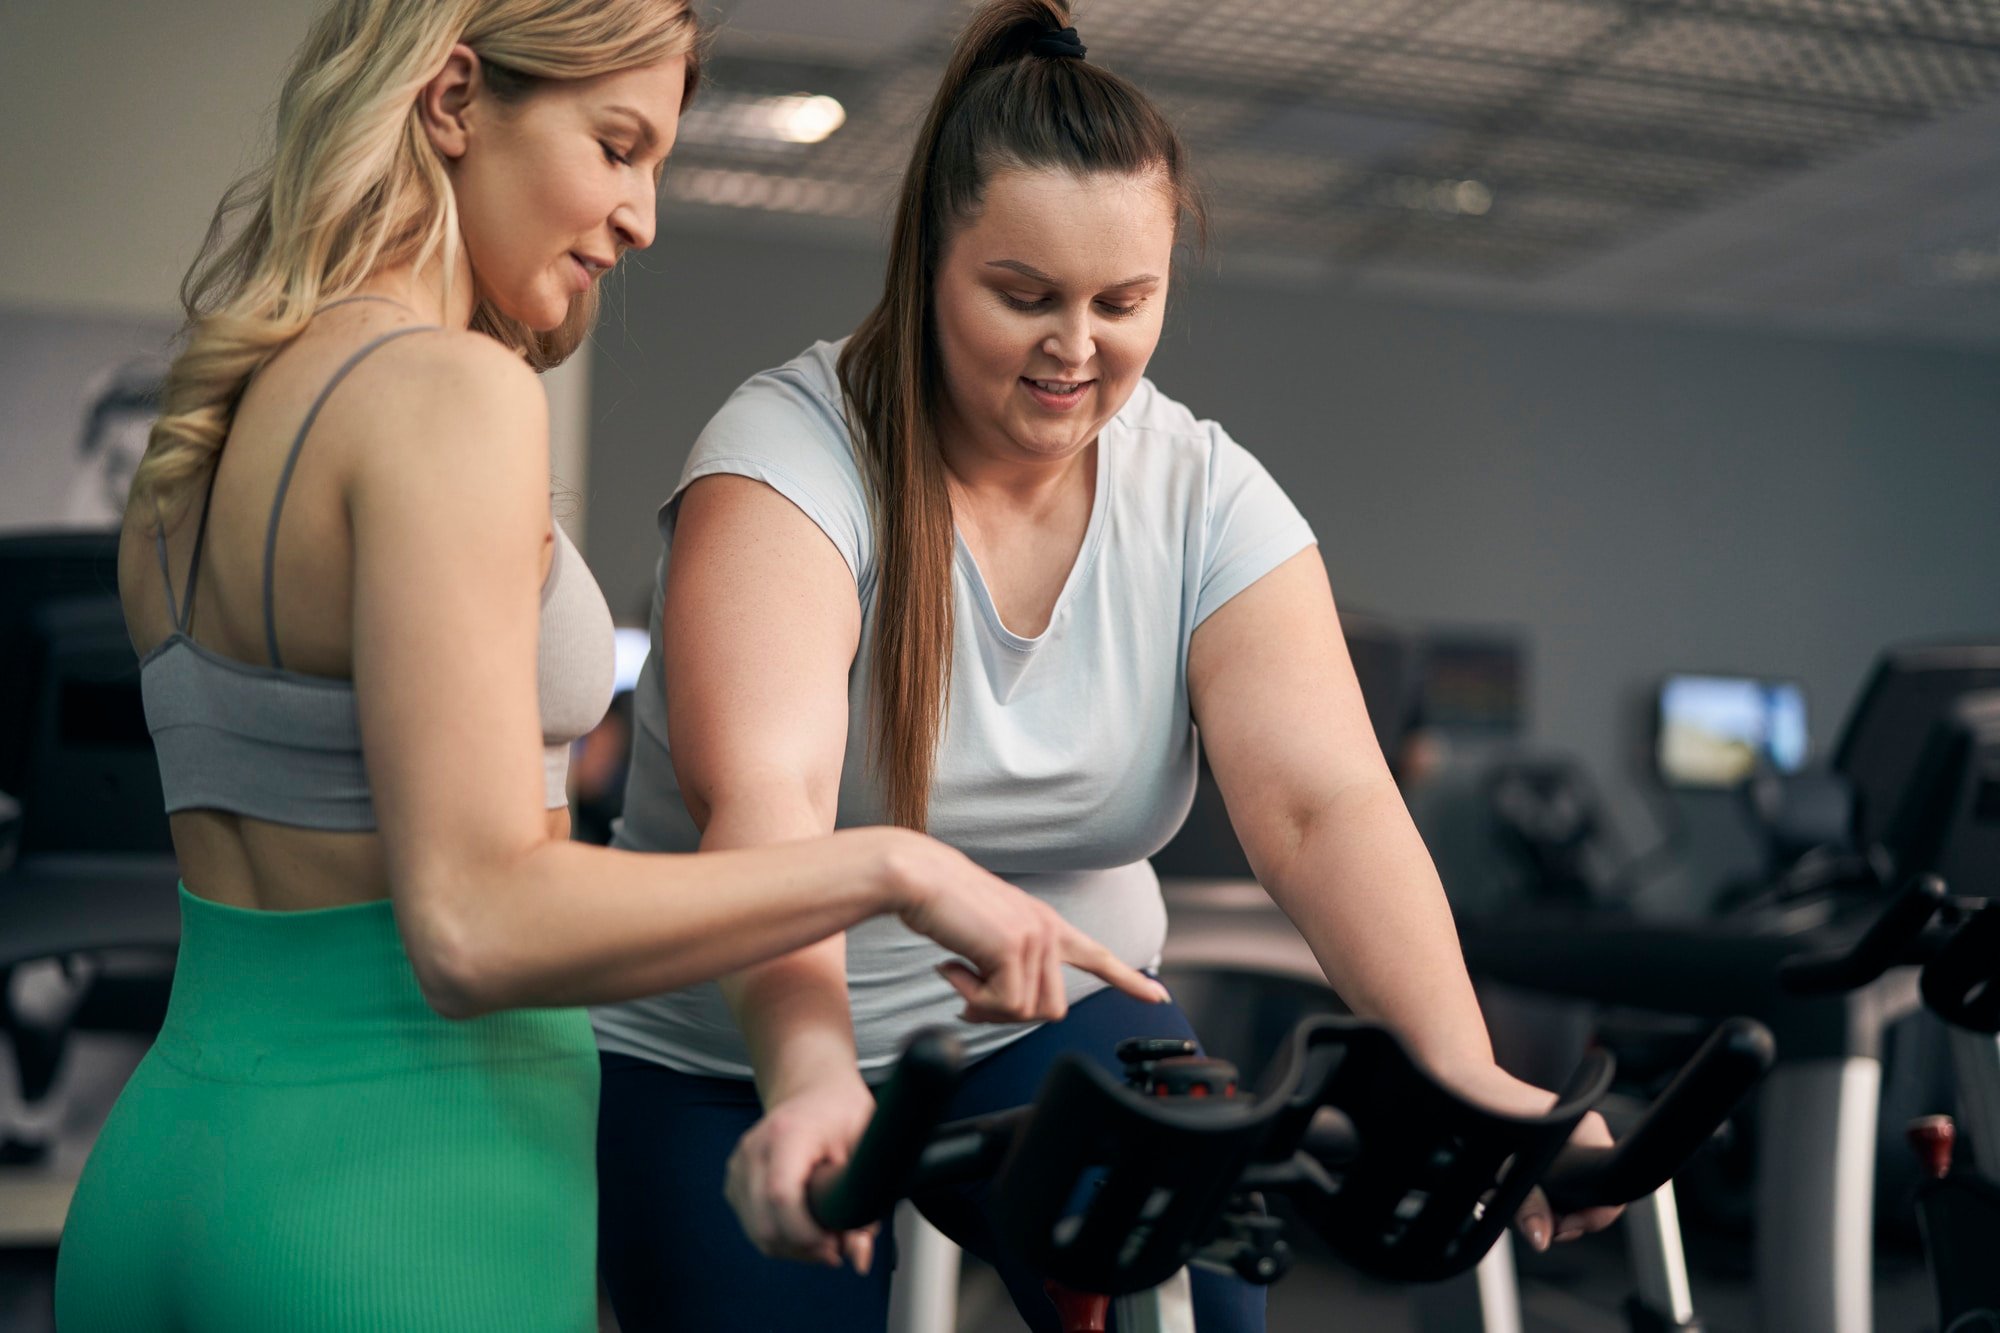 Photo Credit: Depositphotos
If possible, work with a certified fitness trainer experienced in working with individuals who are obese. You can also join an online program with beginner exercise programs that are well-instructed.
Remember, the key is to make sustainable changes to your lifestyle. Small, consistent efforts over time can lead to significant improvements in your health and fitness!
Walking For Weight Loss | Your 14-Day Plan 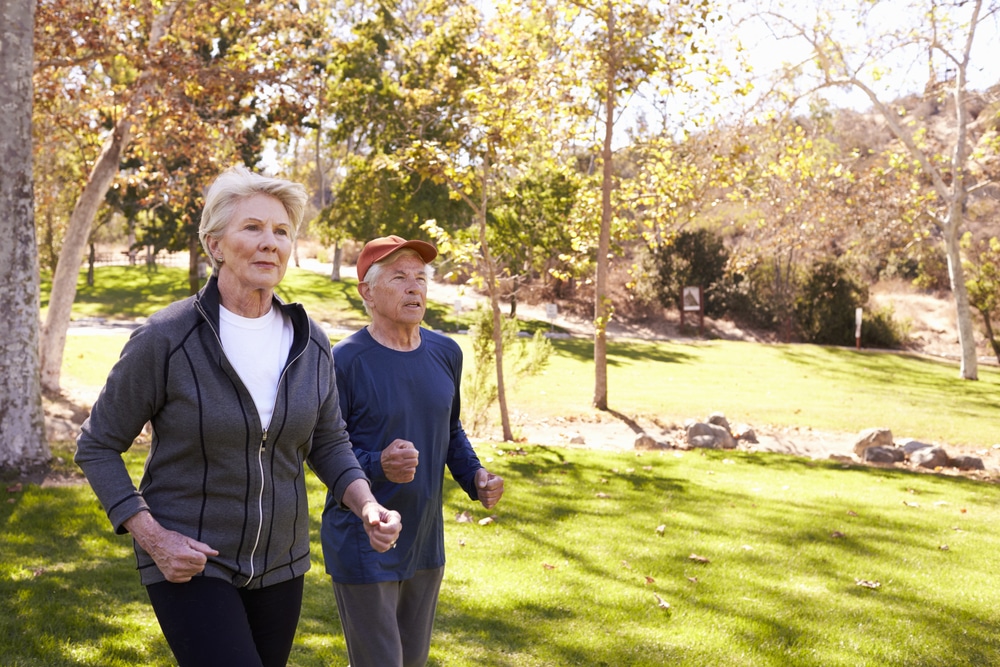 Photo Credit: Shutterstock
Guess what—walking works! Study after study proves that people who walk regularly stay more youthful, stronger, and happier in old age. To get started, try my free 14-day challenge and get walking for a weight loss plan.
Whether you like to walk on a machine, around your workplace, or in your neighborhood, walking can and should easily be incorporated into your daily life!
Walking For Weight Loss | Your 14-Day Plan
The Best Core Exercises for Seniors 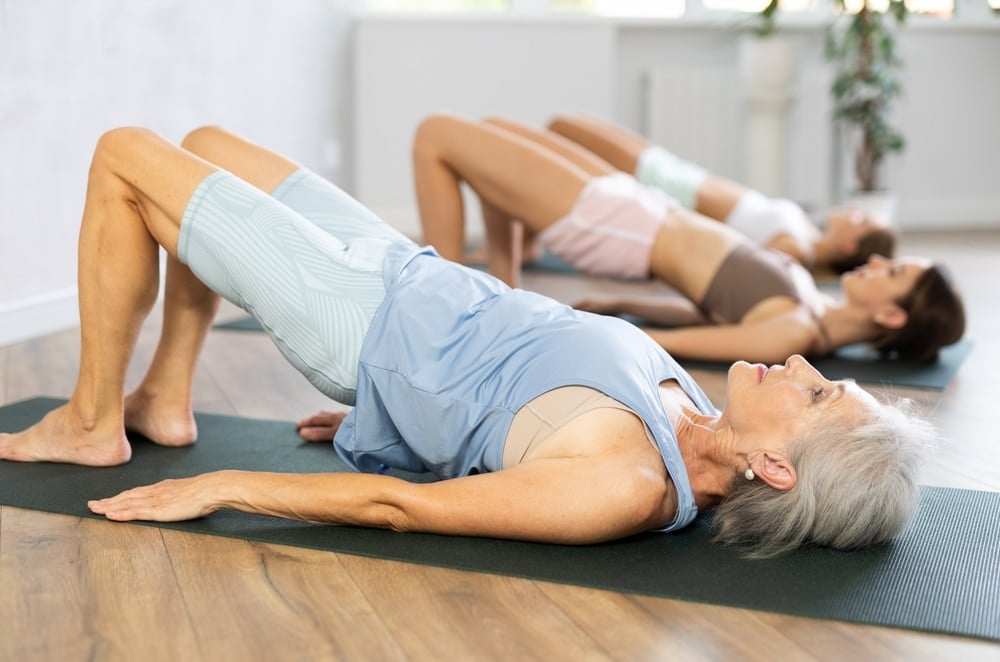 Photo Credit: Shutterstock
Ab workouts aren’t limited to athletes and the under-30 crowd!
As a matter of fact, seniors rank as one of the top groups who should be doing core strengthening exercises regularly because targeting your midsection with exercises that sculpt and strengthen is key to staying healthy and active.
The Best Core Exercises for Seniors
Yoga For Beginners | A Complete Guide To Get Started 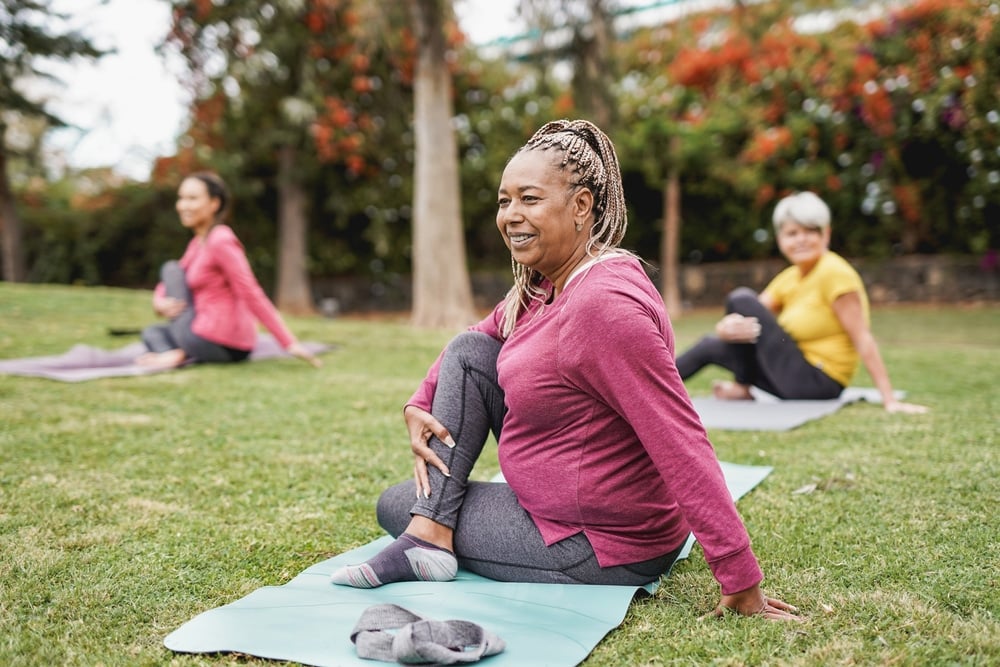 Photo Credit: Shutterstock
If you’ve wanted to begin yoga but don’t know where to start, have no fear! This yoga for beginners guide has everything you need to succeed.
Learn the different types and benefits of yoga, as well as guidance on how to get started and choose the practice that works best for you!
Yoga For Beginners | A Complete Guide To Get Started

7 Glute Exercises That Will Give You an Instant Butt Lift
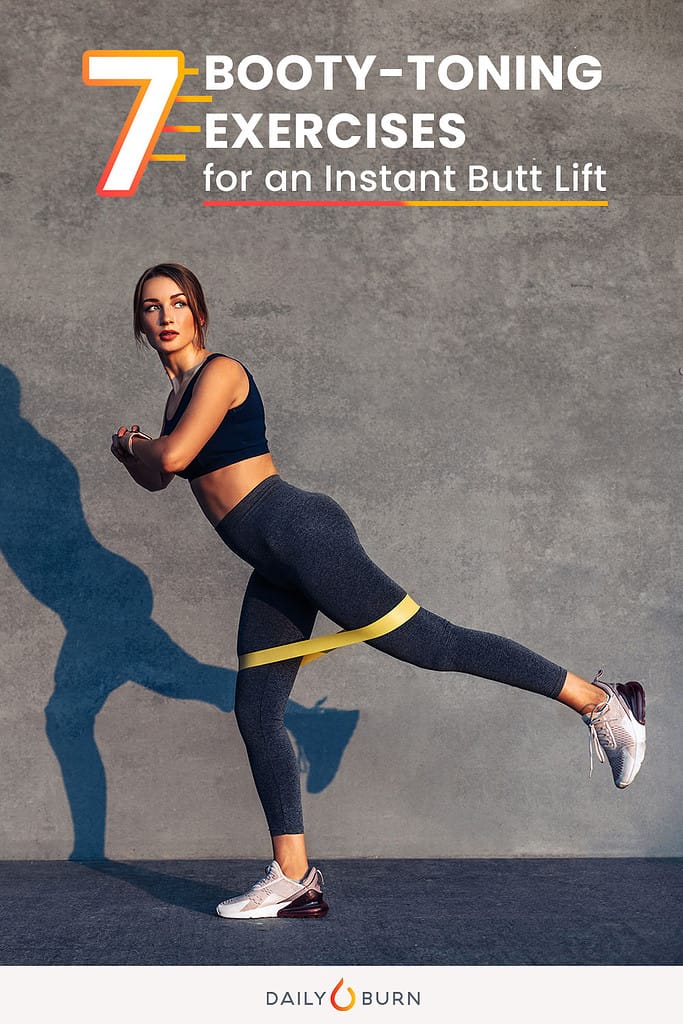
If you’re not a fan of squats, or due to knee issues, don’t feel comfortable dropping low, there’s still hope for your derriere. The revered functional movement is great for building strength, improving mobility and sculpting a curved physique, but it’s not the only exercise that can do the trick.
Single-leg lifts, lateral lunges, and donkey kicks are just a few glute exercises that can help get your booty in gear without getting low. But don’t be fooled, these seven moves, demonstrated by Daily Burn trainers, will still whip your rear into shape. While they don’t require explosive movements like some squat variations, the high reps, pulses and balance moves are guaranteed to make it burn.
RELATED: 5 Better Ways to Sculpt a Stronger Butt
7 Glute Exercises to Tone Your Booty 1. Dirty Dog
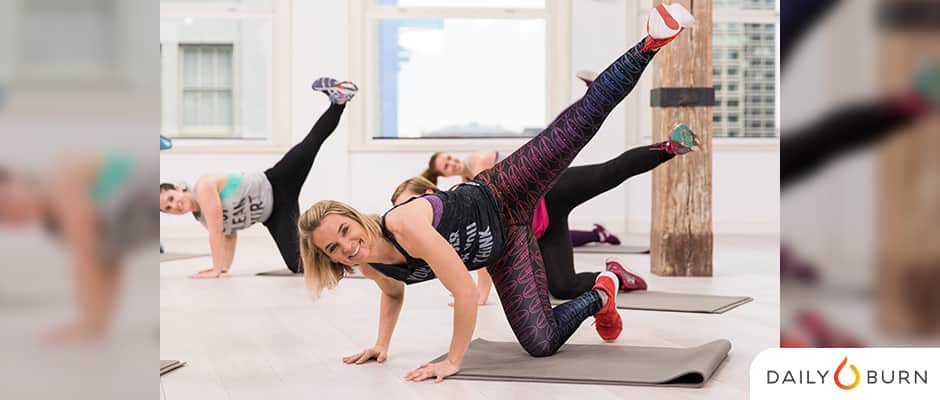
This barre-inspired move, also known as the fire hydrant, will give your glutes, outer thighs, and core some serious sculpting action. Just remember to keep your hips square and lifted to get the most out of this exercise. The bent-knee hip extension will give your core and obliques some TLC, too.
How to: Get into tabletop position with your knees directly under your hips and hands under your shoulders (a). Keeping both knees bent, lift your right leg until your right thigh is parallel to the floor (b). Then, extend your right leg straight, with your right foot flexed (c). Bring the right leg back down to the ground, knee bent (d). Repeat for 10 reps, then switch sides.
2. Donkey Kicks 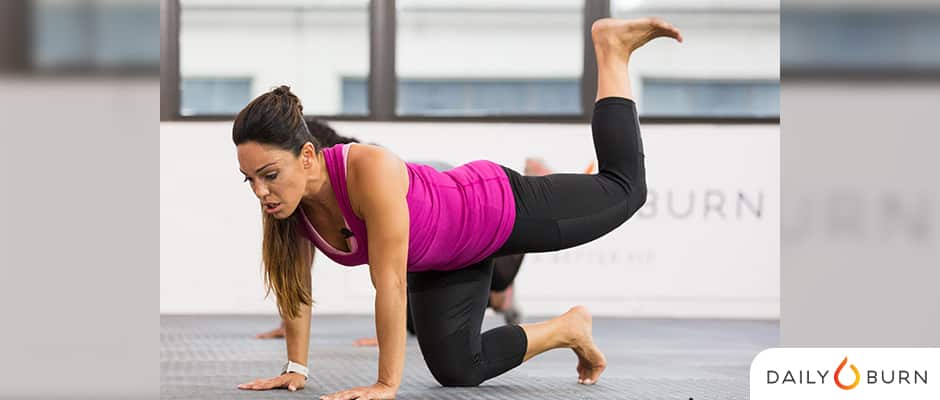
Another highly targeted move, donkey kicks are a great way to fire up the gluteus maximus (the meatiest muscle in your backside, responsible for movement in the hip and thigh). As you kick into gear, make sure to tighten your lower ab muscles and avoid sagging your hips on one side.
How to: Get into tabletop position, keeping your knees directly under your hips, hands under your shoulders and toes tucked (a). Keeping your right knee bent foot flexed and core engaged, press your right foot up towards the ceiling, squeezing your glutes as you reach higher. At the top position, your right thigh and foot should be parallel to the floor (b). Lower your right knee back down to the starting position (c). Do 10 reps, then move on to the left.
RELATED: 5 Glute Bridges You Can Do in Front of Your TV
3. Glute Bridge 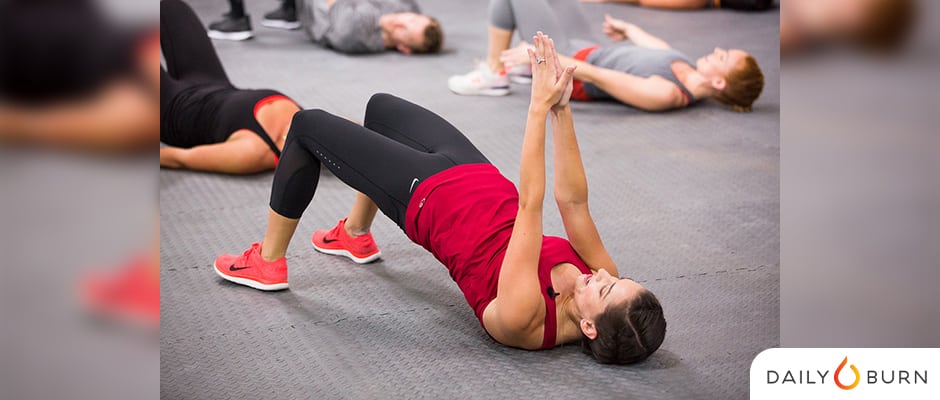
Glute bridges are the perfect booty-shaping exercise because they target all three muscles that make up your butt: gluteus maximus, medius and minimus. They also help stretch your hamstrings and relieve tightness. The key with this exercise is to reach full extension, while keeping your shoulders grounded.
How to: Lay on your back with your knees bent and feet flat on the floor a few inches away from your butt (a). Arms at your sides, or raised out in front of you (palms together), press up into a bridge, lifting your hips and butt off the ground. Keep your shoulders grounded, hips square and body in a straight line from your neck to your knees (b). Hold the bridge for two breaths before you bring your hips and butt back down to the ground (c). Do 10 reps.
4. The Clam 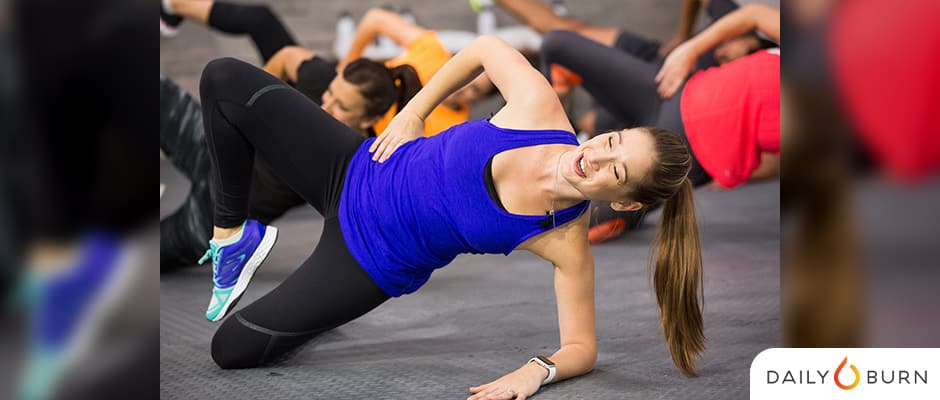
Mobility masters love this move because it addresses hip rotation and glute strength in one fell swoop. Not only will you work out the kinks from sitting all day, in just a few reps, you’ll start to feel the burn in those glutes and thighs.
How to: Lay on your left side with knees bent, and press up on your left forearm, into a modified side plank (a). Square your hips and place your right hand at your waist. Your body should form a diagonal line from the top of your head to the ground (b). Engaging your abs, glutes and thighs, rotate your top leg open (knee bent), so your legs form a diamond (c). Then, close the clamshell returning to the starting position (d). Repeat for 10 reps per side.
RELATED: 5 Power Lunges for Killer Glutes
5. Lateral Lunge 
Lateral lunges will not only strengthen your glutes but also the muscles around your hip and knee joints. To get the most out of this move, you’ll want to keep your back straight and your chest lifted as you sit back into the lunge. Lateral lunges can also help improve your hip mobility and stretch out tight hamstrings.
How to: Stand with your feet hip-distance apart and hands at your sides (a). Take a big step with your right foot to the right, gently landing with the right knee bent, being careful not to let it extend past your toes (b). Sit your hips back and allow your left leg to straighten, feet planted flat on the ground (c). Reverse the lunge and return to the starting position (d). Do 10 reps per side.
6. Single Leg Touchdowns 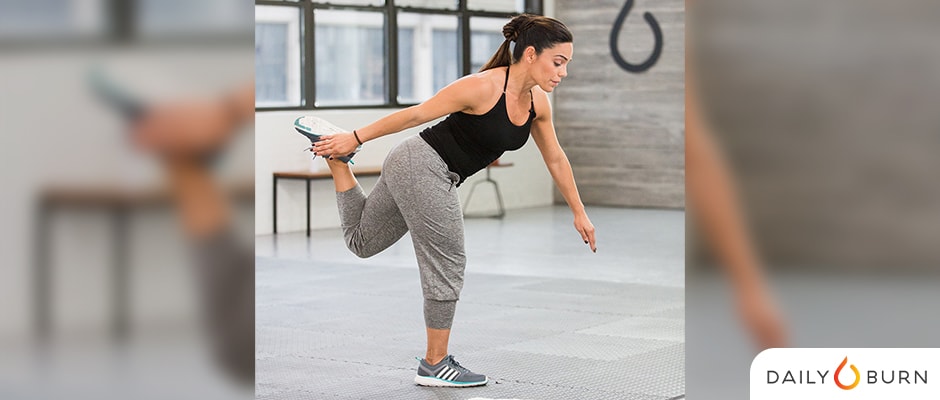
A test of balance and strength, the single-leg touch exercise improves your range of motion and helps loosen your joints. As you stand on one leg, bring awareness to your upper body to help stabilize weight throughout your body.
How to: Stand with feet hip-distance apart with your weight on your left foot, arms at your sides (a). Take your right knee and bend it behind you, and wrap right hand around your right foot. Have a slight bend on your left knee if you need support for balance (b). Engaging your ab muscles and squeezing your glutes, hinge forward at the waist and tap the ground with your left hand (c). Lower your right leg down while lifting your torso back up to the starting position (d). Perform 10 reps on each side.
RELATED: 15-Minute Leg Workout to Tone Up Fast
7. Single-Leg Forward Reach 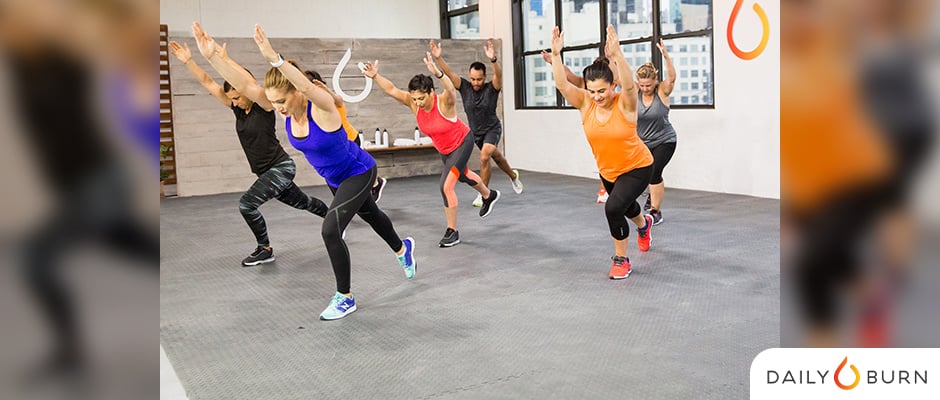
Last but not least, another booty balance challenge. The forward reach will help offset your weight as your leg extends behind you. The name of the game is stability and building a strong base.
How to: Stand with all your weight on your left foot (a). Keeping your left knee slightly bent, extend your right leg straight behind you with your toes hovering just above the floor (b). Then, reach your arms up and hinge forward at the waist as you lift your right leg up until it’s parallel to the floor (c). Pause and hold this position for two breaths (d). Lower your right leg to the floor as you stand upright and rest your right foot on the ground (e). Do 8-10 reps per side.
Not a Daily Burn member? Sign up at dailyburn.com and start your free 30-day trial today.
Originally posted in February 2017. Updated in May 2022
Feature photos by Ryan Kelly / Daily Burn. Cover image via Shutterstock

Exploring Arnold Rosters and the Evolution of Bodybuilding: A Journey into Strength and Fitness
Strength Weekly is the show taking you in depth on all aspects of the barbell game and beyond.
This week, we break down the four biggest stories in strength. Rudy Kadlub has a record day, the Arnold Strongman and Strongwoman rosters for 2024 are revealed, and we discuss every era of modern bodybuilding history.
https://youtu.be/hmXWHXDh0MYVideo can’t be loaded because JavaScript is disabled: Arnold Rosters PLUS Every Bodybuilding Era — Strength Weekly 11/29 (https://youtu.be/hmXWHXDh0MY)
Today, hosts David Thomas Tao and Phil Blechman break down:
00:00 Intro
01:10 Run of Show
02:17 Rudy Kadlub’s MASSIVE Day
05:00 Arnold Strongman Classic Rosters
06:22 Thor’s Big Comeback?
08:40 Arnold Strongwoman Classic Roster
10:10 Bodybuilding through the decades
14:20 Phil’s legendary Arnold impression
16:51 The Modern Era of bodybuilding
Follow David Thomas Tao and Phil Blechman on Instagram.
The post Arnold Rosters PLUS Every Bodybuilding Era — Strength Weekly appeared first on BarBend.

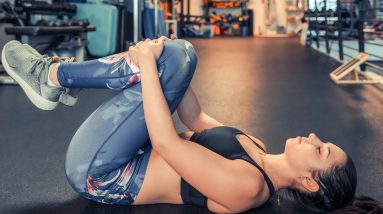
Discover the Fascinating Messages Your Hips are Whispering When They Pop During a Workout
If you’ve ever been in the middle of a workout and noticed that your hips are popping, chances are you’ve been hesitant to power through. Whether you’ve attempted to adjust your movement or skip the offending exercise entirely (leg raises, leg circles, bicycle crunches, and side plank crunches are all common culprits), it doesn’t solve the multi-part mystery of what’s causing it in the first place or how you can keep it from happening in the future.
“No matter what the exercise method is, it’s always the same issue,” Sharyl M. Curry, a certified Pilates instructor and founder of Park East Pilates tells me when I visit her for a session in her New York City studio. “If you’re lifting the leg up and down with your thigh bone jammed up in your hip, that’s when you get the popping,” she explains. This happens when you’re not properly lengthening the leg out of the hip, she says. “You always want to be creating and maintaining space in the joint with the help of the muscles.”
Of course, there are a lot of mechanics going on behind every lift and circle of the leg, and since you won’t be successful in lengthening out of the hip if other alignment issues are in play, Well+Good turned to Curry and NYU Langone physical therapist, Naomi Bailin, DPT for an easy-to-follow understanding of why your hips are popping during a workout.
What exactly is causing my hips to pop?
According to Bailin, there are several possible culprits behind your recurring hip popping, and they’re as simple (and harmless!) as a tendon sliding over a bone to a more serious issue like a labral tear (more on the latter in a bit). But most likely, what you’re experiencing is due to tightness in the connective tissue surrounding the hip joint capsule, which is made up of ligaments that connect bone to bone. “This can result in abnormal mechanics happening in the ball and socket joint in the hip,” Bailin says.
When you’re doing an exercise, such as lying on the floor and raising your legs, Bailin explains that the hip joint should glide downward. “Instead, the joint glides up if that hip is too tight in the connective tissue that encapsulates the joint.” (That’s the “jamming” of the thigh bone Curry mentioned earlier.)
One more thing that’s important to note, both Bailin and Curry say that a weak core is often to blame for this tightness. “We have to stabilize the hip joint so that it can move freely in the socket, and we do that by keeping the torso stable,” says Curry, who adds that by properly engaging the abdominals, you’re then able to create space in the hip joint by lengthening the leg.
On the other hand, a loose body of cartilage or a labral tear can be a more serious issue that causes hip popping, but Bailin notes that it’s more common in professional athletes like gymnasts or dancers (and can often be managed without surgical intervention). “The labrum is the washer that surrounds the socket of the hip joint,” Bailin explains. “It kind of deepens the socket and makes it more stable, and when there’s a tear in there, you can get some deeper clunking and popping.”
Is it really so bad if my hips are popping?
Unless the resulting hip popping is causing you pain, Bailin assures that there’s nothing serious going on. “The popping in and of itself, you don’t have to worry about,” she says. “It’s when it starts to interfere with function—so if accompanied by pain, by limitation, by sensations of instability where the hip is wobbly and making you feel unsteady—that can mean there’s something more going on.”
But even if it’s not causing you pain, hip popping can be an unpleasant sensation, and it is a sign that you’re not using the proper alignment during a workout. That, in turn, leads to relying on different muscles from those that the exercise intends to target, which means you won’t get the full benefits from your workout.
How can I prevent my hips from popping?
How you tackle the issue largely depends on your root cause behind the improper mechanics of the hip. Personally, Curry was quick to diagnose that because I was tucking my pelvis, it wasn’t possible for me to engage my abdominal muscles. That led to the whole domino effect of my hip flexors overcompensating to do the stabilizing work instead, causing the tightness that’s likely behind my hip popping. For general tightness in the hip, Bailin recommends stretching before your workout, suggesting kneeling lunges to target the adductors (inner thighs) and single-leg bridges to target the glutes and core (alternating sides).
If you’re suspicious that a weak core could be to blame, start by taking the time to ensure you’re properly engaging your abdominal muscles. An example, Curry says, is attempting to do leg lifts while lying on your back on the floor while not letting your back arch up off of your mat as you lower your legs. “It’s not the spinal column that has to push down, it’s the muscles that support around the spine,” she explains. “The more you pull in from the front, the more the back will roll onto the mat.”
Bailin adds that if your core isn’t yet strong enough to perform a particular exercise without your hips popping, you can try reducing the range of motion. If you’re getting popping when your legs are going low to the ground, for example, she says not to lower your legs as far down. “[This way] your spine can stay stable, rather than arching back and forth,” she advises. “By doing less, you’re then getting a better workout because you’re using the abdominals for what they’re intended for, which is to avoid spinal motion.”
When should I reach out to a professional?
If your hip popping is ever causing you pain, Bailin stresses that you should book an appointment with a physical therapist to address the issue as soon as possible. “Don’t let problems like this become chronic,” she says. “What can happen is, when you’re moving in a different way because you’re uncomfortable, then another joint can become an issue as a result of the faulty movement patterns. Don’t wait until one thing becomes two, and then two becomes three, and it becomes harder to intervene conservatively.”
For hip popping that’s not causing pain or stability issues, but just won’t seem to go away (and is a major nuisance, like mine), you can still opt to visit a physical therapist. They will be able to assess your alignment and address any issues they find—or direct you to a doctor should you need further medical intervention.

10 Steps to Crafting an Engaging Research Paper on Physical Education
Writing a research paper on physical education can be an enlightening and rewarding experience. This field combines elements of health, physical activity, and education, providing a rich ground for study. Below are the key steps to create a compelling and informative paper.
Choose a Relevant Topic
The first step in writing your research paper is to select an interesting and relevant topic. Physical education encompasses a wide array of subjects, from the impact of sports on mental health to the effectiveness of different teaching methods in PE classes. When choosing your topic, consider current trends in physical education and how they affect various demographics. For instance, you could explore how modern technology is influencing physical education or the importance of physical education in combating childhood obesity. This stage is crucial as it sets the direction for your entire research. For a change, you can order a research paper online and use it as a sample for your writing. Inspect it, notice how it is written and the topic dwells on.
Conduct Thorough Research
Once your topic is defined, it’s time to dive into research. Utilize various sources, such as academic journals, books, reputable websites, and interviews with professionals in the field. This will provide a well-rounded view of your topic. Be sure to focus on recent studies to ensure your information is up-to-date. For example, if you’re writing about technology in physical education, look for the latest advancements and their implications. Your research should be comprehensive, covering all aspects of your chosen topic.
Develop a Clear Thesis Statement
Your thesis statement is the backbone of your research paper. It should clearly state your research’s main argument or primary point. For a paper on physical education, your thesis might focus on the benefits of a specific teaching method or the role of physical education in overall student health. This statement guides your research and writing, ensuring all your points relate to your main argument.
Organize Your Findings
With your research, it’s important to organize your findings logically. A well-structured paper helps in conveying your ideas more effectively. Start with an introduction that sets the context and introduces your thesis. Then, use body paragraphs to present and discuss your research. Each paragraph should focus on a single idea supporting your thesis. For instance, if your paper is about the impact of PE on student wellness, each paragraph could cover different aspects like physical health, mental health, social skills, and academic performance.
Write and Revise
Now, begin writing your paper. Remember to use simple, straightforward language. Avoid jargon and overly technical terms unless necessary. As you write, make sure each section flows smoothly into the next. After completing your first draft, revise it for clarity, coherence, and conciseness. Check for grammatical errors and ensure your arguments are well-supported by evidence. This phase is crucial for refining your paper and making it as strong as possible.
Cite Your Sources
Finally, it’s essential to cite your sources accurately. Proper citation not only gives credit to the original authors but also strengthens the credibility of your paper. You might use APA, MLA, or another citation style, depending on your institution’s guidelines. Ensure that every piece of information borrowed from other sources is properly referenced.
Final Thoughts
You can write a comprehensive and insightful research paper on physical education by following these steps. Remember, a great paper is about presenting facts engaging the reader, and contributing meaningfully to the field. Your paper has the potential to inspire and inform, so take the time to make it impactful.